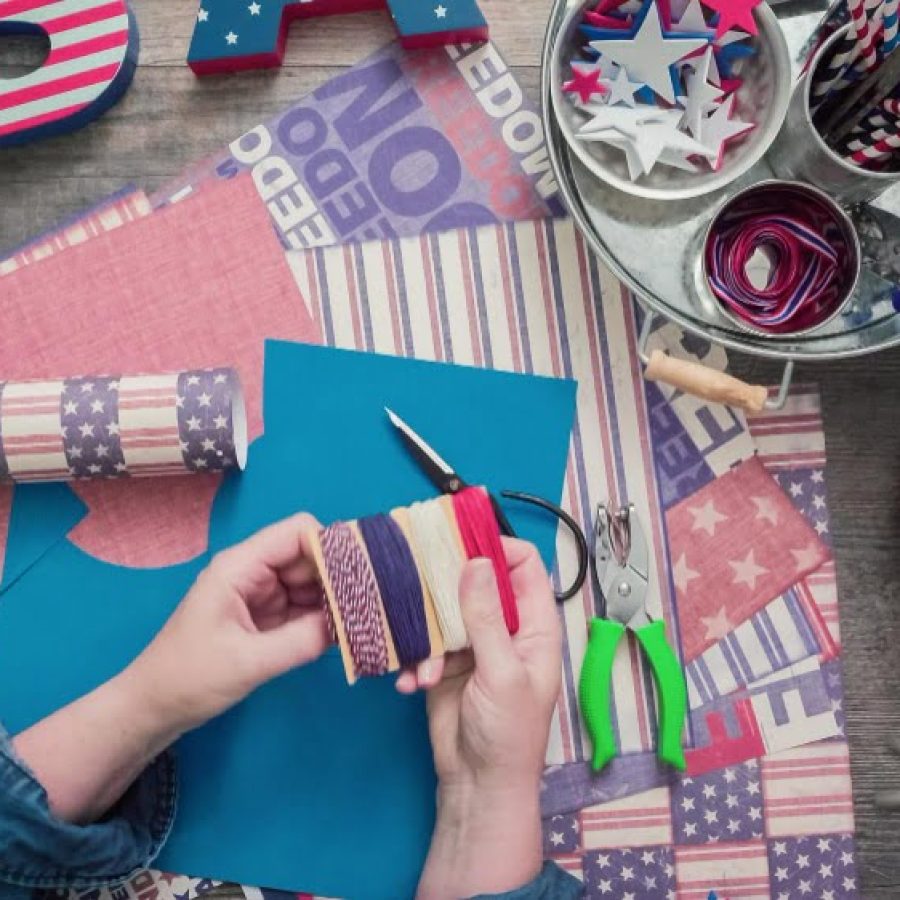
Independence Day is one of the most traditional and important dates celebrated in the United States. There’s no better way of connecting with that celebration than creating something specifically crafted for that holiday. Time to get inspired to learn 4th of July preschool crafts that you can make at home with your little explorer!
4th of July decoration
The celebration of one of the most important national holidays is also the opportunity to share pride over American history and the people who fought for the country’s independence.
Decorating the front of your house or participating in parades with custom objects that celebrate our history can also become a learning experience for children.
As children explore their creativity and create decorative objects, they are also participating in an American tradition while learning about history. So let’s dive into the red, white and blue ocean of 4th of July crafts!
Independence Day holiday crafts for preschoolers
Time to let your little one’s creativity shine! Here are some craft ideas to celebrate the 4th of July.
Make sure to stay close to your child as they’re creating these crafts as some of these ideas might require a little more coordination and motor skills.
DIY Sparkler Tee
Materials: plain white t-shirt; foam or paint brush; fabric paint with US flag colors; washi tape; cardboard.
What you’ll create: a custom-made t-shirt made by a little Patriot’s very own hands.
Step by step:
- Place the cardboard underneath the entire t-shirt. This prevents that the ink from the section painted does not stain the back of the shirt;
- Use the washi tape to create shapes like fireworks, hearts, stripes on the t-shirt.
- Softly dip the brush into a recipient with the fabric paint: you don’t want either too much nor too little paint, just enough to stick to the t-shirt fabric.
- Use the brush to paint around the t-shirt using the colors you prefer. You can use the paint brush if you want to draw something more detailed, and have a completely different texture using the foam brush!
- After the ink is dry on the t-shirt, you’ll delicately pull the washi tape: the shape created before the t-shirt was painted will stand out from the colors painted around it!
Patriotic Burlap Banner
Materials: wire wreath (choose whatever size you prefer); red, white and blue burlap wired ribbon. Make sure the ribbon size should be enough to fit in the wire wreath.
What you’ll create: a wreath inspired by the American flag colors!
Step by step:
- Divide sections of the wire wreath according to the ribbon color that will be used in each. Ideally, you’ll end up with the three colors going around the wreath;
- Weave each ribbon into the designed section. Move the ribbon around the wire, covering each opening.
- “Fluff” the ribbon to make it look like bows that were put together.
- If you want to go the extra mile while also encouraging your preschooler to use their motor skills, use white ink to stamp stars and go over the blue ribbon with it. Let it dry and then wrap it around the wreath!
Fourth of July Parade Wands
Materials: wood dowel; red, white and blue ribbons (use different stamps and slightly different colors than the official ones that are on the flag); hot glue and/or screw eyes.
What you’ll create: an one-of-a-kind Parade Wand that you just can’t find in any store!
Step by step:
- Cut the ribbons to fit the wand and the eye screw. Make sure its has enough length to “spread“ along the dowel and will move as you wave the wand;
- Screw the eye screw on one of the dowel ends;
- Thread the ribbon through the hole of the eye screw. You can tie it in the hole to make it firm!
- Mix the ribbons and play along with the different colors and stamps. You’ll end up with a beautiful and colorful wand!
- You can also custom the dowel: thread ribbon around the dowel and use hot glue to hold its ends.
Fourth of July Bracelets
Materials: red, white and blue beads; structure to hold the beads (pipe cleaners, string or plastic).
What you’ll create: as many bracelets as your little artist desire and wishes to combine them!
Step by step:
- Turn this arts-and-crafts time into a stimulus: ask the child to create a pattern using the different beads.
- Place the beads on a flat surface according to the pattern created;
- Fit the beads into the string, making sure that the pattern is being followed;
- Use your child’s arm as a reference to define the length of the bracelet: tie a knot at the end of the string to keep the beads secured and firm.
When we think about children’s development, learning how to express themselves and foster their creative thoughts is as much of a skill as learning how to make calculations. As we know, the combination of creativity and science-based subjects is one of the pillars of STEAM educational methodology.
If you’re focused on helping your child’s development, keep reading and see why you should encourage your child to interact with art and crafts.


