As Easter is right around the corner, you’re likely already being striked by bunny ears, flowers, chocolate and candy all over the place! If you’re looking for easy Easter crafts for preschoolers, we got you! Keep reading and take this as an opportunity to turn family time into something educational and engaging.
Easy Easter Crafts for Preschoolers
Next, you’ll see AEA’s selection of crafts you can do at home with your child.
Keep in mind that children should never touch pointed scissors and that all paint, glue and tape should be non-toxic. This will keep your crafter safe during playtime!
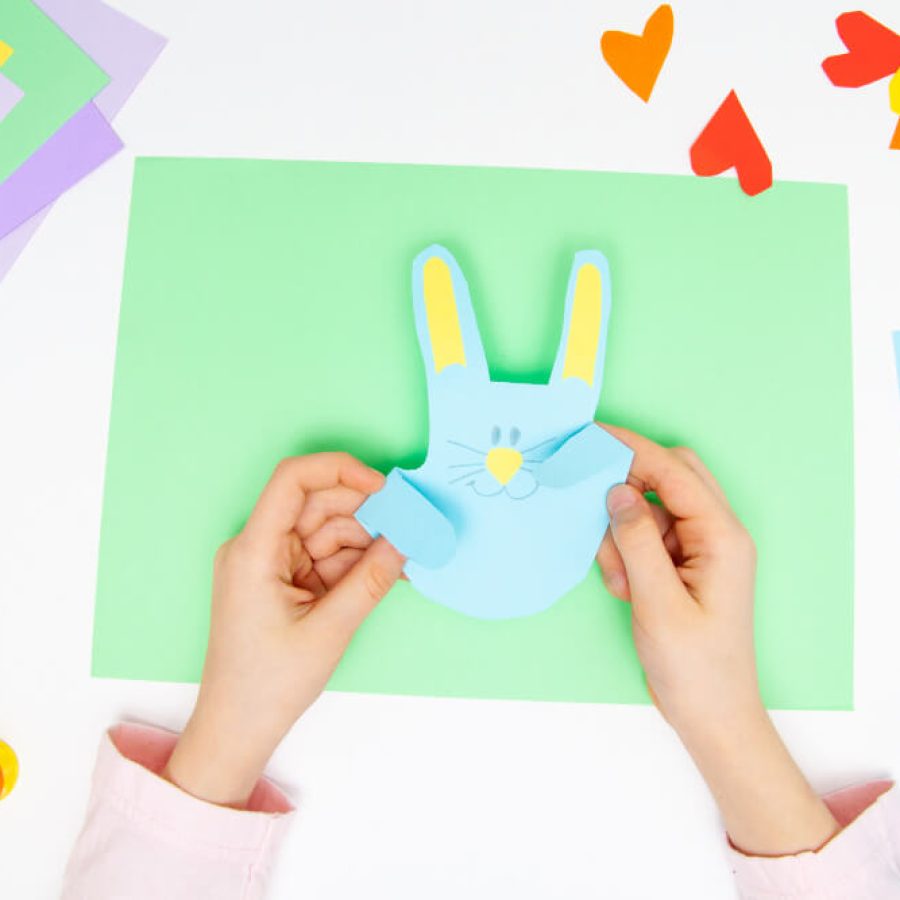
Easter Bunny Handprint Card
You’ll get a kick from creating a handprint that can be kept through years to remind yourself in the future of how much your Little One has grown.
Materials:
- Construction paper (white, pink, black)
- Non-toxic paint (white, pink)
- Markers or crayons
- Scissors
- Optional: glue stick, cotton balls
Instructions:
- Take a piece of white construction paper and fold it in half like a greeting card.
- Place the two sets of lateral fingers together to create the bunny ears (do it by joining the pinky and ring finger, and then the middle and index fingers).
- Next, apply white paint to your child’s hand.
- Gently press their painted hand, with fingers slightly apart, onto the front of the folded card. You now have the bunny’s head and ears. Let it dry completely before moving to the next steps.
- With the scissors, cut the bunny shaped folded paper.
- Now it’s time to get creative to decorate the ears! Use crayons and markers to shape or color the ears, draw eyes and a nose to make the bunny seem as realistic as possible.
- Inside the folded paper, have your child write or help you create an Easter message!
- If you’re feeling extra inspired, use the cotton balls to create that characteristic bunny’s fluffiness!
Video references: Best Ideas For Kids, One Little Project
Egg Carton Chicks
A homemade craft that will keep your Little One busy – and you’ll still end up with lovely decorations for Easter!
Materials:
- Egg carton (cardboard)
- Non-toxic paint (yellow, orange is optional for beaks)
- Paint brushes
- Glue stick and tape
- Scissors
- Optional: googly eyes, markers, colored construction paper
Instructions:
- Cut out two halves of egg cups from the carton. A single carton can be used to make multiple chicks!
- For a better finish, trim the sides of the egg carton so that they can completely close together without any gaps.
- Paint the egg carton pieces yellow, leaving a small area unpainted at the front for the beak (you can paint the beak orange later, or use construction paper). Let the paint dry completely before moving on.
- To form the chick’s body, you can glue the two egg cups together, and keep it closed. But you can place the cups side by side, use tape to glue the sides and make it fold open and closed.
- Add the extra features to make it as close to a real chick as possible! Cut small pieces of construction paper to create the beaks, wings and feet. Using glue, attach every part to its corresponding section.
- Draw little eyes right on top of the beak and you have a homemade chick!
Video references: Amy Huntley
Paper Plate Easter Basket
A simple way to utilize those paper plates that are forgotten after your family’s last barbecue! This serves as an Easter decoration, but also as a handmade gift your Little One will be proud to showcase.
Materials:
- Paper plate
- Scissors
- Crayons, markers, or paint
- Colored construction paper or cardstock
- Glue or tape
- Optional: ribbon or string
Instructions:
- Take a paper plate and cut it in half.
- Instruct your child to decorate the outward face of the plates. Be as creative as you’d like! Use color glue, markers, stickers… anything that resembles Easter.
- Keep in mind that we’ll use that little gap where the food goes shortly, and it will serve as the holder of the Easter eggs.
- Take the two halves of the paper plate and overlap them slightly, with the decorated sides facing outwards. Secure the overlapping edges together using glue or tape. Voilá, now you have the basket shape!
- To create the basket handle, cut two thin strips from construction paper or another material, and staple one end of each strip to opposite sides near the rim of the plate. You can also use ribbon or string as holders.
- Enjoy your new Easter creation, made with lots of love by your preschooler! When filling the Easter basket, be mindful not to put heavy objects that might tear the handle.
Video references: The Best Ideas For Kids, Easy Kids Craft (with slightly different assembling from our instructions)
Bunny Ears Headband
You can choose to either create your headband from scratch, or get a pre-made one. Either way, your preschooler can get creative and explore different textures, colors and materials while creating this easy Easter craft.
Materials:
- Headband (plastic or fabric, pre-made is easiest)
- Scissors
- Glue stick (or fabric glue for felt)
- Optional: felt (in various colors like white, pink, or pastels)pom poms, markers, stickers
Instructions:
- Calculate the handband’s length by placing the construction paper on top of the child’s head and folding it until forming a cylinder. Mark where it starts and ends, and then cut the headband. Try to make it no more than 2″ wide.
- Cut the bunny ears by folding a piece of felt in half. Draw a bunny ear shape on the folded felt, like a large teardrop with a rounded end. Cut out the double layer of felt, resulting in two identical ears.
- Time to decorate the ears! Let your child use markers to draw details on the ears like whiskers or other adornments. If they choose to create the inner ears, you can glue on small pom poms for a fluffy touch.
- Position the ears on the headband where you want them. Use glue to secure the base of each ear to the headband. If using a plastic headband, consider using fabric glue for better adhesion.
- You can add more decorations to the headband itself, or add more details to the ears! Make sure to let it dry completely before using it.
Video references: Crayola
Easter Egg Suncatchers
After you’re done with this creative Easter decoration, watch as the colors shine through the translucent cellophane!
Materials:
- Colored tissue paper or colored cellophane sheets
- Clear contact paper or self-adhesive laminating sheets
- Scissors
- Pencil or marker
- Easter egg template (you can draw one yourself or find one online)
- String or yarn (optional, for hanging)
Instructions:
- Cut a large egg shape out of the transparent plastic sheet.
- Cut a piece of contact paper slightly larger than the plastic egg shape. Peel off a little bit of the paper backing to expose the sticky side.
- Take your colored tissue paper or cellophane sheets and cut them into small squares or rectangles. Let your child use their creativity! They can take the stripes and place them onto the sticky side of the contact paper, adhering them to create a mosaic design within the egg shape.
- Once your child is happy with the design, carefully lay the plastic egg shape on top of the tissue paper-covered contact paper, smoothing out any wrinkles. Gently press down to ensure everything sticks together.
- If necessary, use scissors to trim off any excess contact paper around the plastic egg shape.
- If you wish to hang your suncatcher, punch a hole near the top of the egg shape and thread string or yarn through it to create a loop. Now it’s ready to be hanged!
Video references: OrientalTrading
You now have plenty of projects with easy Easter crafts for preschoolers! These are all designed to allow your Little One to explore their motor skills, interact with different materials, and create little artworks they can display around the house or even take to school.
At AEA, we strongly believe in the power of transforming the learning experience of our students. Keep reading and get to know what is so important about learning through play!


